
Drum Sander
My local Woodcraft store had a sale on Jet power tools a month or so ago and I decided it was time to buy the drum sander I've been saving up for. I didn't have quite enough money in the piggy bank but it was close enough that it wasn't worth passing up the sale savings.
The tool comes in two boxes and each of them are pretty heavy. The guys at the store were nice enough to load them into my Forrester for me. When I got home I had my wife help me carry them downstairs. I could probably have managed on my own if I'd had to but why turn down help when it is handy.
Yesterday I decided to spend my shop time on putting it all together. I've been wanting to get it working since I brought it home but prioritized the dresser instead. I'd pulled the assembly instructions out as soon as I got it home but hadn't really read very much of them. Fortunately there wasn't really any prep necessary. It all went together pretty easily.
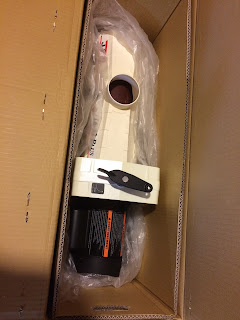
The instructions said to start with the legs so I started by unboxing the assembly stand pieces. Everything was very well packed. Each powder individual piece was wrapped in a separate heavy plastic bag to prevent scratches. Left to right, top to bottom the parts are: lower shelf, short rails, conveyor belt, legs and long rails.
The first step was to assemble two legs to each short rail. Then attach the two leg assemblies together using the long rails.


The legs went together with carriage bolts and nuts, no washers. I considered adding washers but decided not to. If things ever loosen up these bolts are easy to access and I can just add washers and lock washers later. The next step was to flip the legs over and add the shelf.

Adding the shelf was a little more awkward since there wasn't anything to rest it on. I ended up sitting on the floor and using my knee to prop it up. After I got one carriage bolt in, the rest went together easy. Then I added the stem casters I'd purchased at Home Depot. They cost me $20 versus the $133 they would cost me on Amazon.


The instructions said to start with the legs so I started by unboxing the assembly stand pieces. Everything was very well packed. Each powder individual piece was wrapped in a separate heavy plastic bag to prevent scratches. Left to right, top to bottom the parts are: lower shelf, short rails, conveyor belt, legs and long rails.
 |
| The Assembly Stand parts |


The legs went together with carriage bolts and nuts, no washers. I considered adding washers but decided not to. If things ever loosen up these bolts are easy to access and I can just add washers and lock washers later. The next step was to flip the legs over and add the shelf.

Adding the shelf was a little more awkward since there wasn't anything to rest it on. I ended up sitting on the floor and using my knee to prop it up. After I got one carriage bolt in, the rest went together easy. Then I added the stem casters I'd purchased at Home Depot. They cost me $20 versus the $133 they would cost me on Amazon.


For the casters I dipped into my own hardware supply and added lock washers to make sure they didn't work loose. Next was flipping the stand upright and putting the motor on top.

You cannot see them in this picture but the motor has two pieces of plywood bolted to the bottom that keep it from bouncing around in the box. I'd definitely recommend keeping the motor box upright when moving it. I don't have a picture of it; however, with my wife's help we moved it to the top of the legs so that it sat crosswise from the pictures above. This allowed us to get to the hex bolts holding the plywood on.
After removing the plywood I spun it around so that it was on the stand properly and used the bolts that had held the plywood on to fasten the motor to the stand. I added washers and lock washers to these too.
The next step is to add the belt.


After removing the plywood I spun it around so that it was on the stand properly and used the bolts that had held the plywood on to fasten the motor to the stand. I added washers and lock washers to these too.
The next step is to add the belt.

This went on pretty easy. Four bolts and it was on. The instructions mentioned that the belt had been over tensioned for shipping but didn't go into details on how to fix it. But never mind that! More steps to follow. I'd also purchased the accessory extension tables and it was time to put them on.


These came in a much smaller box and consisted of two U-shaped braces and two stamped steel tables. Shown above is unboxing the extension tables and attaching the U-braces. Next was adding the tables.

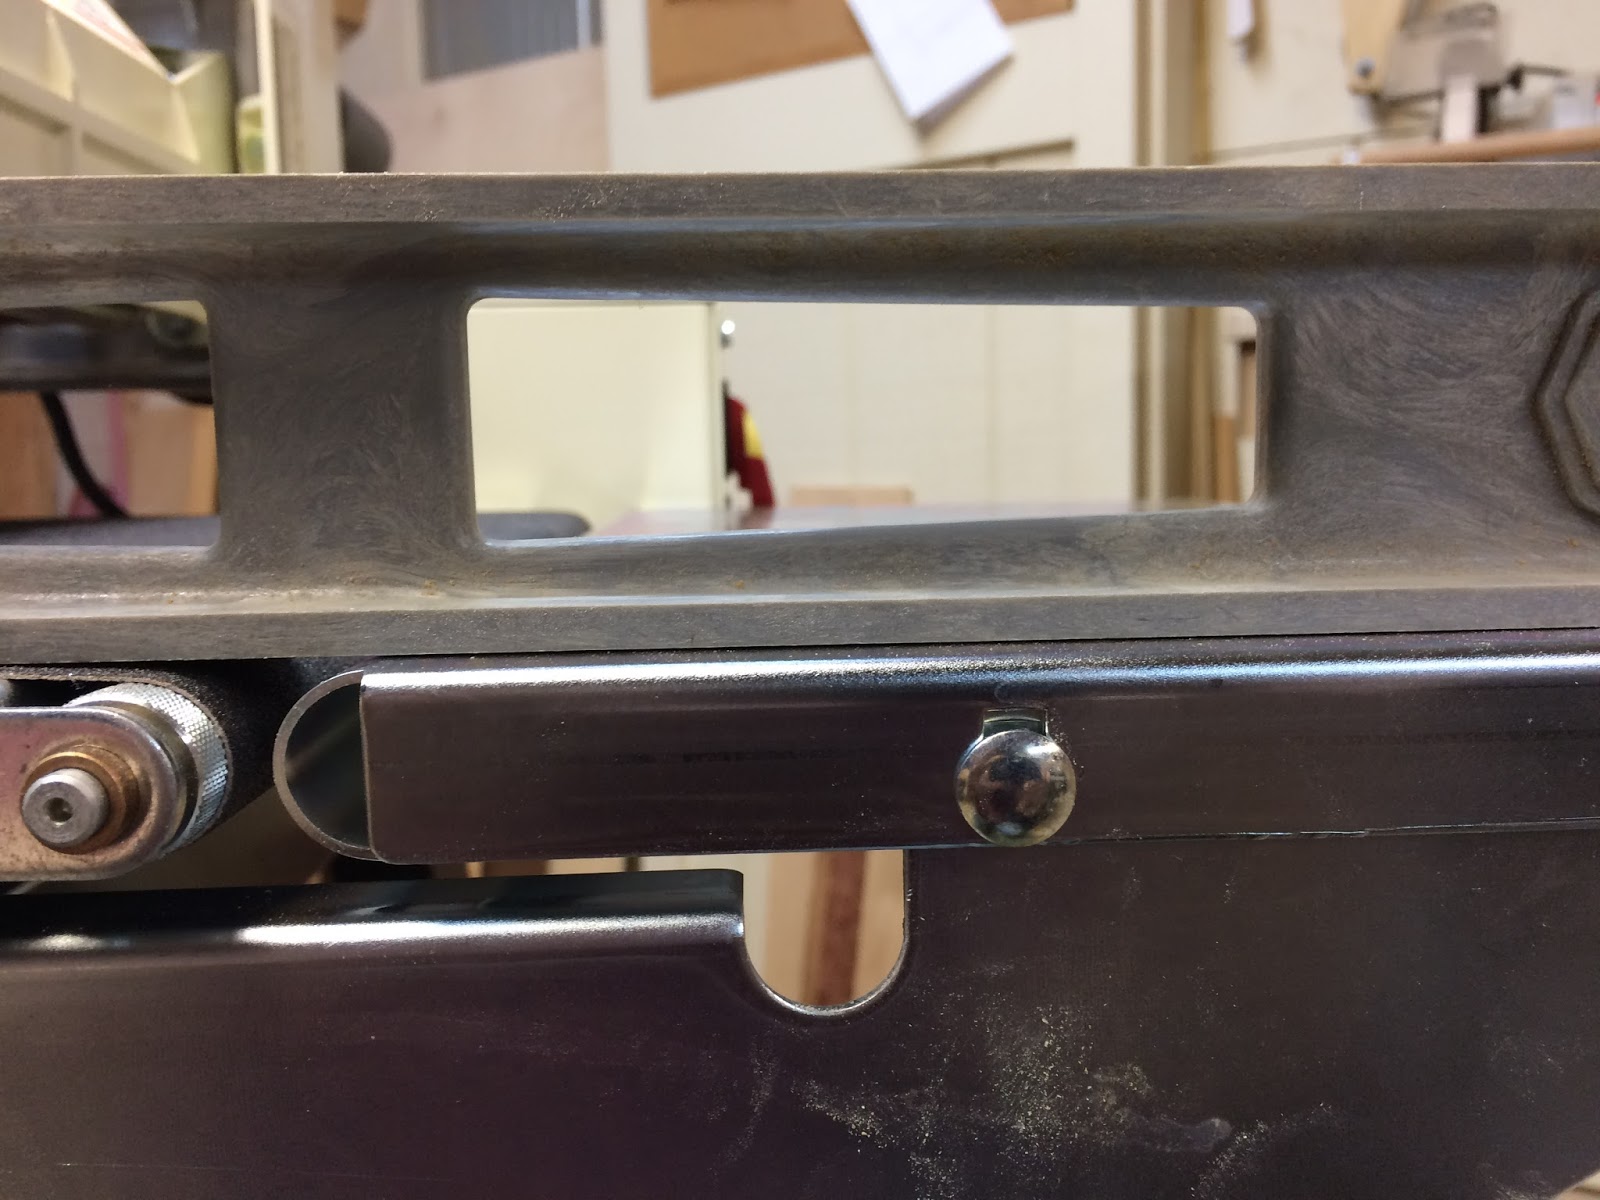
Hopefully you can see that there is a small gap between my level and the extension tables. The instructions say to level them so that they are just slightly below the height of the belt.

After leveling the extensions I set the tension on the belt, checked the sand paper and set the height gauge.


I couldn't find a good angle to get a picture of the height gauge. Its the shiny bit in the middle of the left picture. There's a tape measure on the front of the motor.
The first thing I thought when I saw the sand paper belt was, "What the heck! They wrapped it too loose?" Then I red the instructions on how to use the handy tool for manipulating the clamp that holds the ends of the sand paper to the drum.

Oh.
It is supposed to be that way.
The last step was to properly tension the belt and calibrate the height gauge. To adjust the belt the instructions said that the belt was too loose if hand pressure could make it slip. I loosened the belt and then tightened it in small increments until it stopped slipping. To set the height gauge I lowered the drum until it just touched the belt. Then I set the gauge to zero. Simple and done!
In Summary
I am super stoked. I work with a lot of thin material that can be quite challenging to flatten and smooth with a finishing planer. This tool should allow me to work with thin material that can - and has - exploded trying to run it through my planer. It will also allow me to work with figured woods that chip out in the planer.
I haven't done more than turn it on and haven't run any material through it yet but so far I'm really happy with the tool. The assembly instructions were clear. All the parts fit together without needing altering. The packaging was superb. They even wrapped a couple of wood blocks in plastic and wedged them under the drum for shipping. I wasn't surprised by the wood blocks but that they wrapped them in plastic! When I turned it on for a quick check everything ran smoothly and surprisingly quietly.
The kit came with additional bits that for other tools I would have had to purchase separately. It came with a height gauge measured in inches - and fractions - but they also included a metric replacement. They included one 80 grit belt on the drum and a few more replacement belts in a box. There's a special tool for helping fasten the sanding belt in the clamps. I was able to reach the clamp with a finger so I don't figure I'll ever use the tool but it was nice to have it included.
So far I am very happy with the purchase. If it works half as well as it went together it will be fine. If it works as well or better I'm going to be ecstatic!
Conflicts of Interest!
I do not have any. I do not have any financial ties to Jet, Woodcraft or any of the other companies I have mentioned in this post (other than I give them money and they give me stuff at fair market value). I purchased this tool out of my own pocket and did not receive any special discounts.